
RStudio Git
Use Git in RStudio
Create RStudio Project from Git Repository
- Option "RStudio Web": Log in with your uzh shortname at https://rstudio.math.uzh.ch
- From the "File" menu select "new Project...".
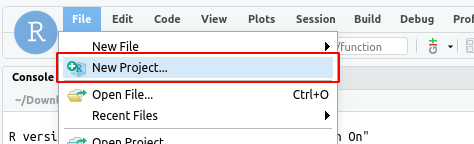
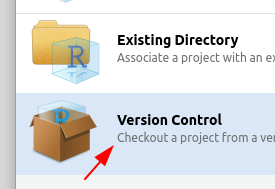
- In the dialogue choose "Version Control".
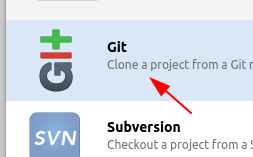
- Next choose Git.
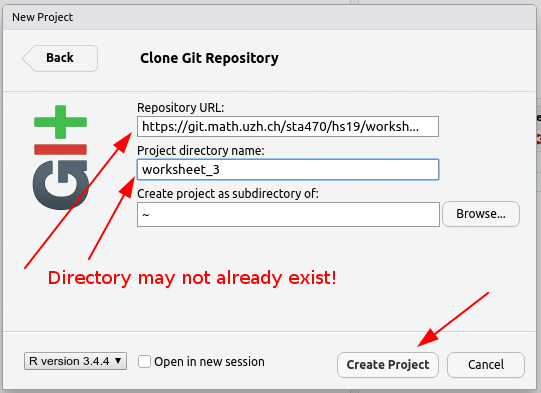
- Enter the URL of your Git repository and choose a unique name for the project directory. Change the Project location if you like. Then press "Create Project".
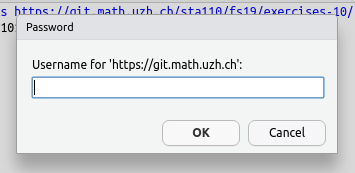
- Enter your Git server login in the dialogue. Usually this is your uzh shortname and password. (Reset Password on Windows: link)
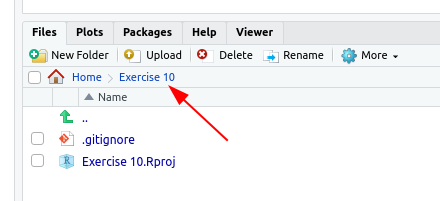
- If the project was created successfully you will now see the project path and the project files in the Files panel (bottom right panel).
Commit and Push to the Repository
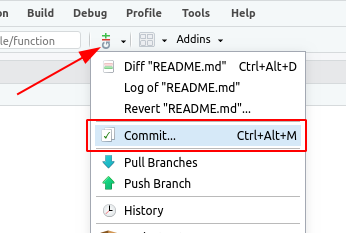
- From the "Git" menu select "commit".
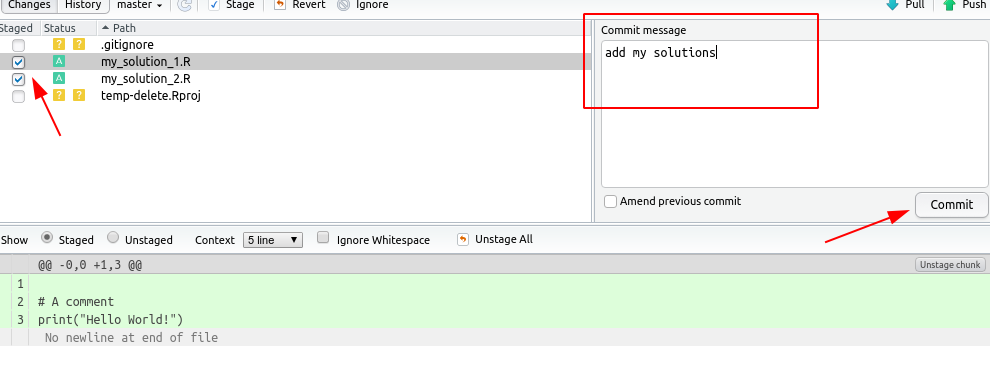
- In the newly opened window choose the files that you would like to commit and write a commit message. It won't work if you leave the message empty! Then press "Commit".
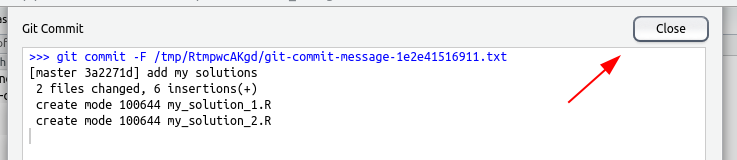
- Check whether there were any errors and then the close the dialogue.
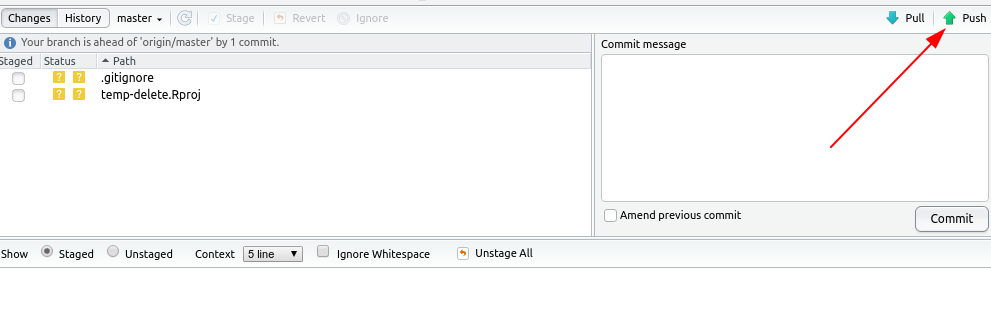
- Click on "push".
- Enter your Git server username and password in the dialogue. Usually this is your uzh shortname and password. (Reset Password on Windows: link)
- Check whether there were any errors and then the close the dialogue.
